Advertiser Disclosure: At Slickdeals, we work hard to find the best deals. Some products in our articles are from partners who may provide us with compensation, but this doesn’t change our opinions. Our editors strive to ensure that the information in this article is accurate as of the date published, but please keep in mind that offers can change. We encourage you to verify all terms and conditions of any product before you apply.
Reading Time: 3 minutesNow that you’ve installed a new M.2 SSD (solid state drive) into your PC, the next steps are to make this blazing-fast storage device bootable and also setup Windows 10. Installing Windows 10 on an M.2 SSD isn’t difficult, but there are a few things to you’ll need to confirm or configure in order for your PC to recognize the desired drive. This guide will show you how to set up the M.2 SSD as a boot drive, as well as start the installation process for Windows 10.
Special thanks to ADATA, iBuyPower, and Microsoft for providing the demonstration materials in this how-to guide!
How to Make an M.2 SSD a Boot Drive
Author’s note: BIOS will look different depending on your motherboard’s manufacturer. For reference, our custom iBuyPower PC featured a Gigabyte Z370 Aorus motherboard. All images are for illustrative purposes only.
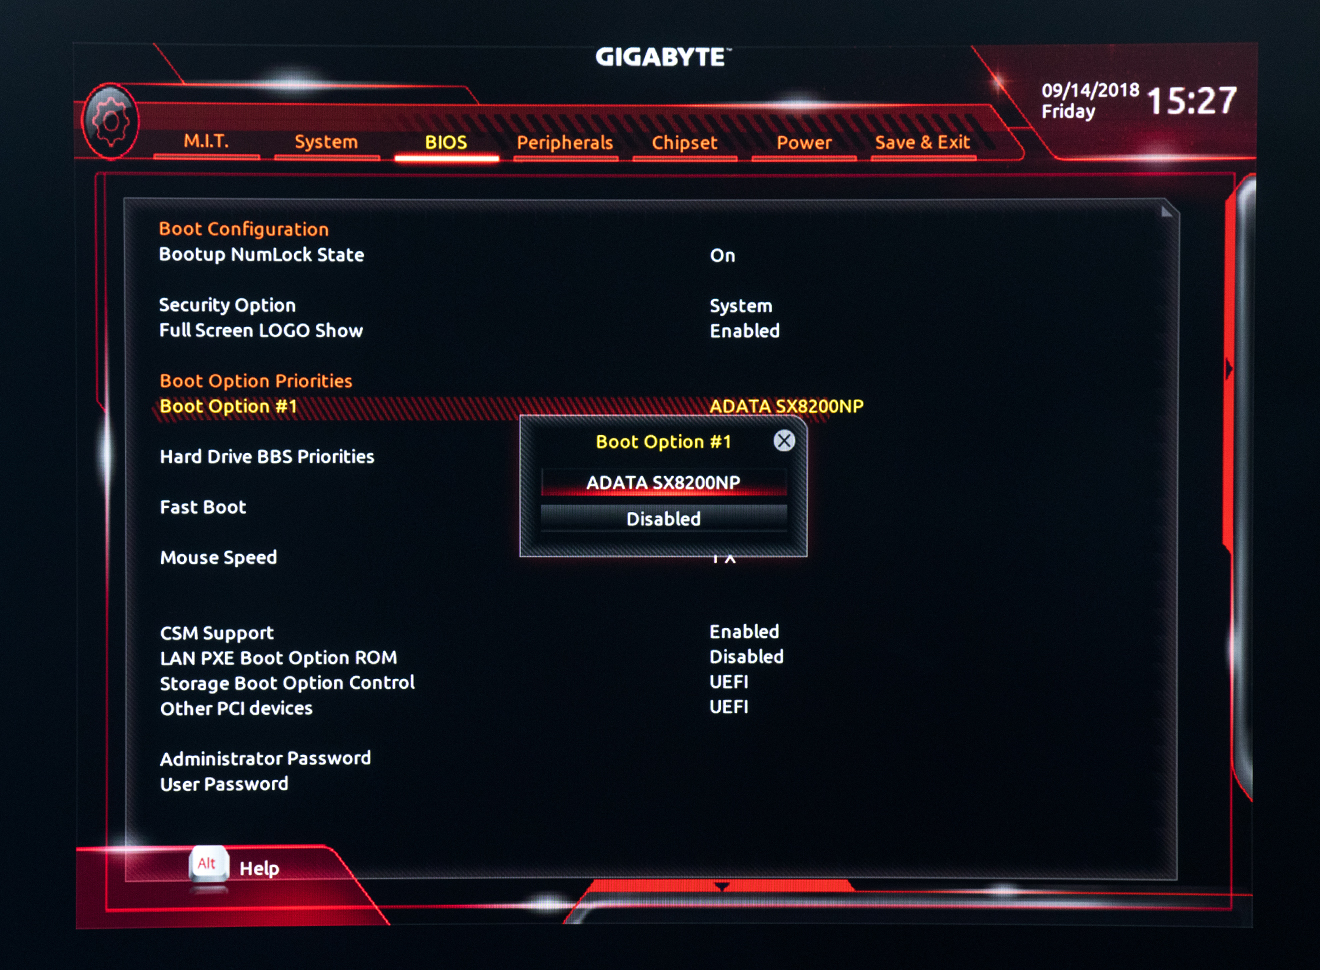
1. Enter BIOS to ensure the M.2 SSD is being recognized by the motherboard. Turn on your PC and press the “Delete” or “F2” key when prompted to enter BIOS, then confirm or set your M.2 SSD as the first boot option. In our case, the ADATA SX8200 SSD is the only drive installed.
If you don’t see an M.2 SSD listed, you may need to manually set the motherboard to be in “M.2 Mode.” Learn how to do that HERE.
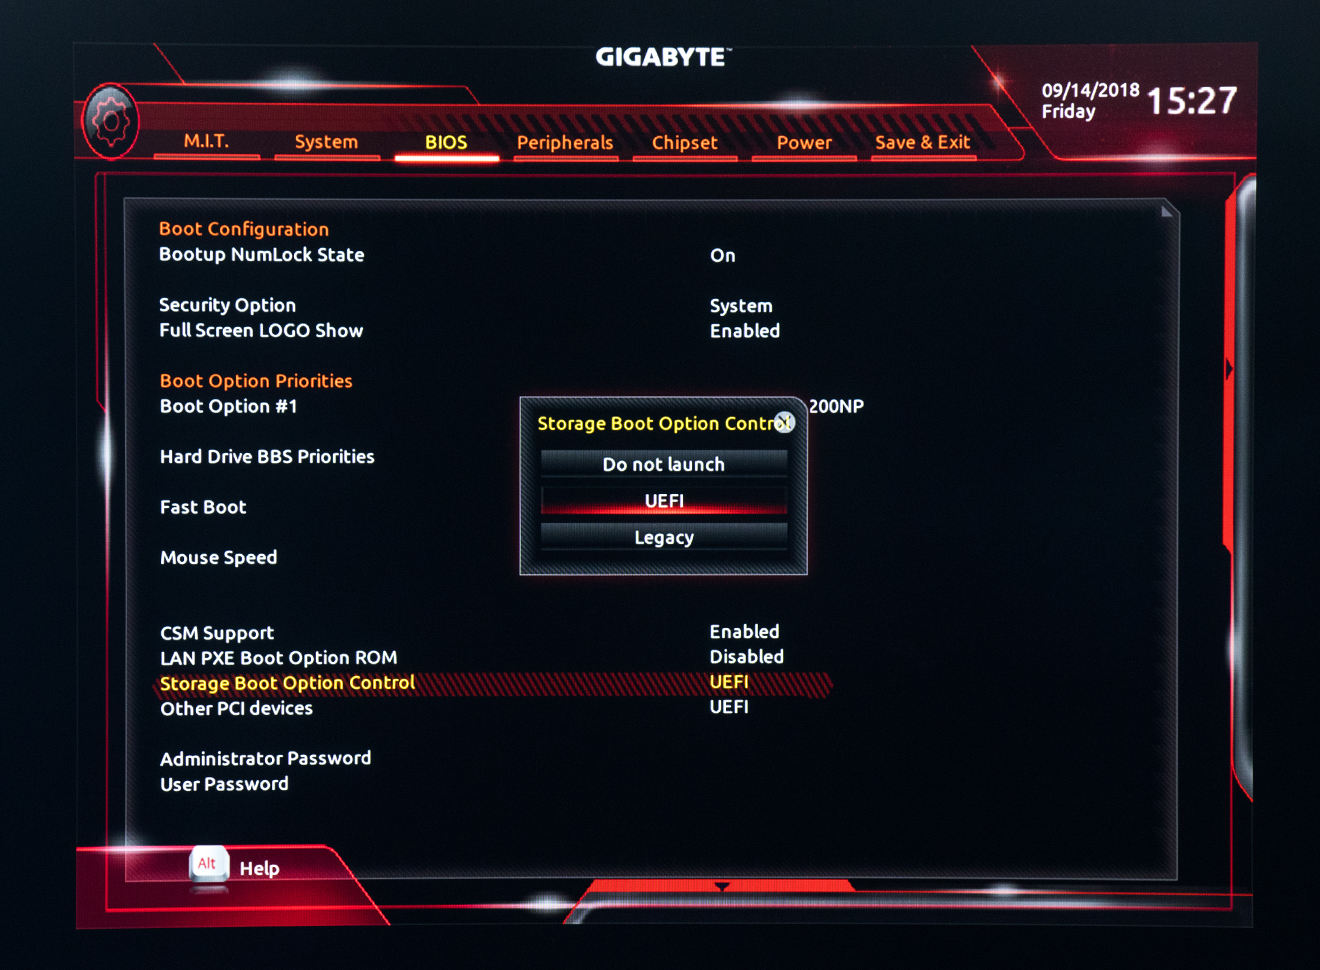
2. Set the Storage Boot Option Control to “UEFI” Newer motherboards will automatically default to UEFI, but in some cases you’ll need to manually switch from “Legacy” to “UEFI.”
3. Save your settings and exit. Navigate through the BIOS menu to the tab labeled “Save & Exit.” Choose “Save Changes and Exit.” Your PC will automatically reboot.
How to Install Windows 10 on an M.2 SSD
With the M.2 SSD set as a boot drive, you’re now ready to install Windows 10. Don’t have a copy of Windows 10? Purchase a downloadable version from the Microsoft Store.
1. Turn off your PC and insert the Windows 10 installation USB. If you downloaded Windows 10 from Microsoft, you can use a free app, like Rufus, to create a bootable USB drive.
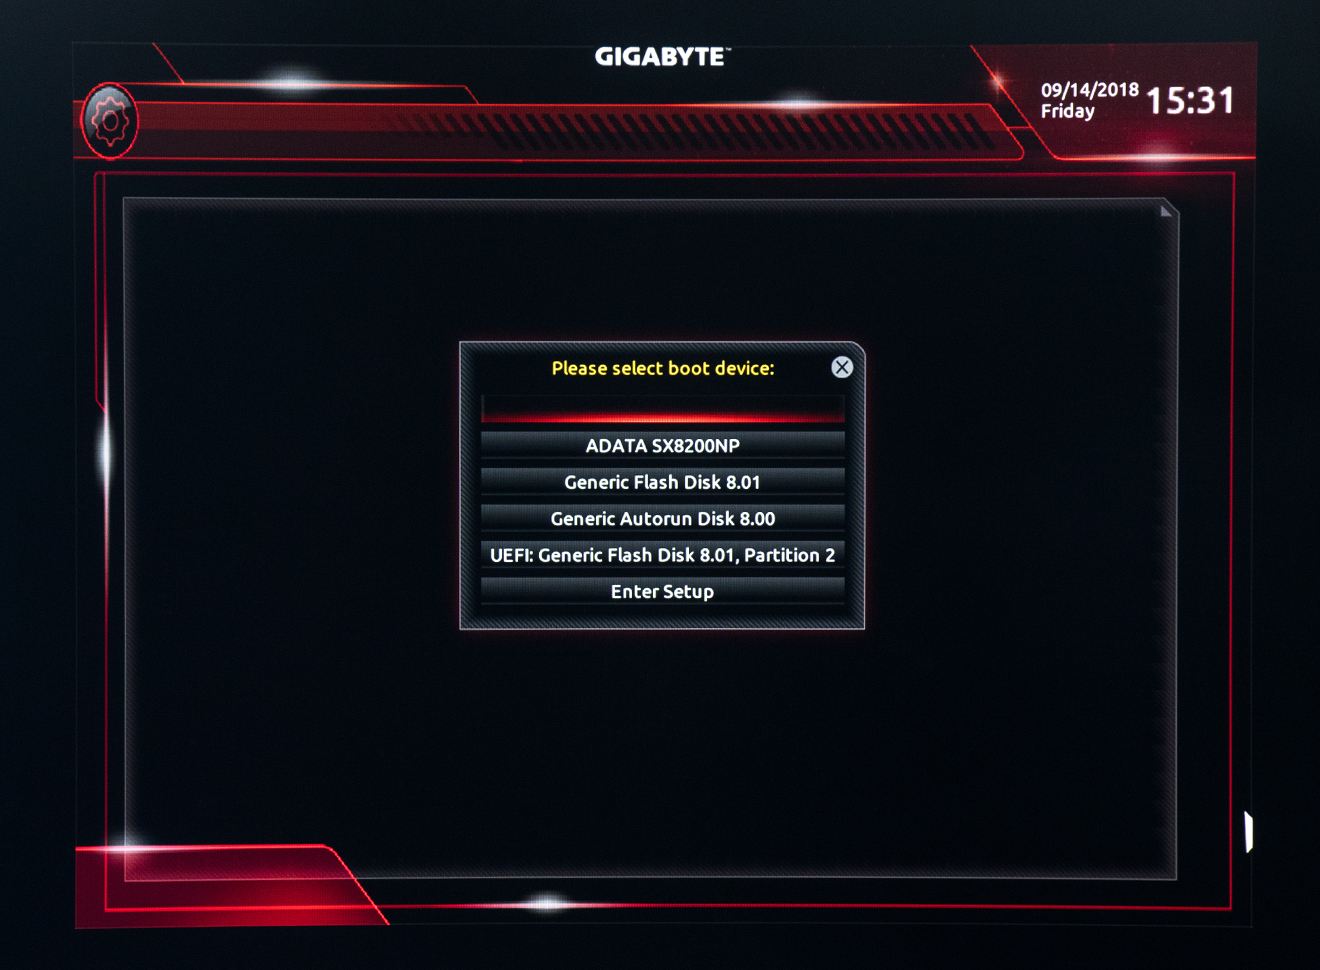
2. Turn on the PC, enter the boot menu, and select the USB drive with Windows 10 on it. In our case, pressing “F12” brought us to the boot menu, where we selected “UEFI: Generic Flash Disk 8.01, Partition 2” to initiate Windows 10 setup. For older motherboards, you’ll need to set the boot device order within BIOS.
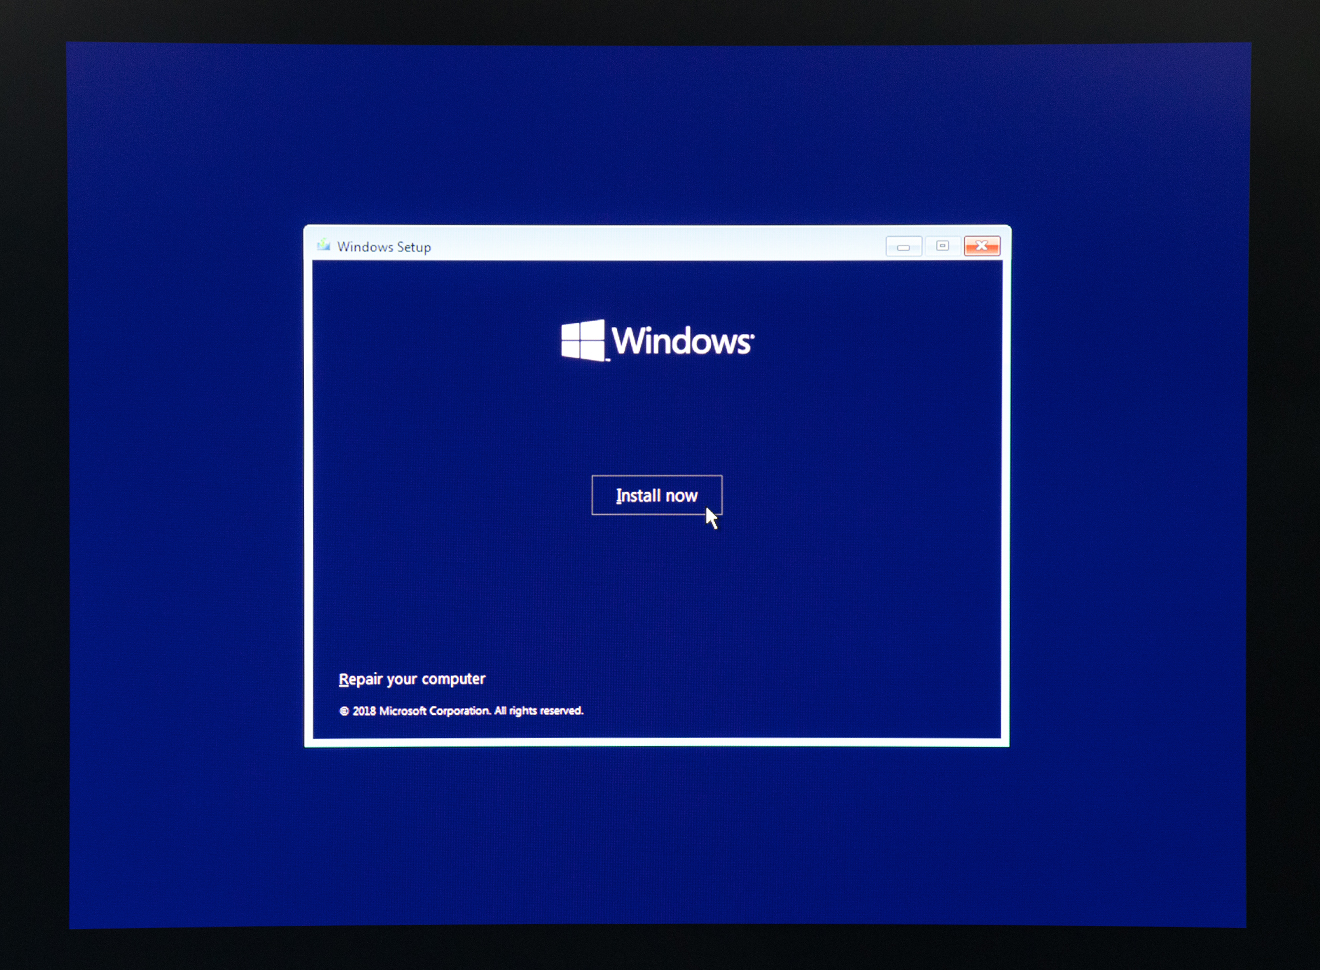
3. Start Windows 10 installation. If the PC successfully boots from the USB drive, Windows 10 will automatically enter setup mode. Click “Install Now” to continue the process.
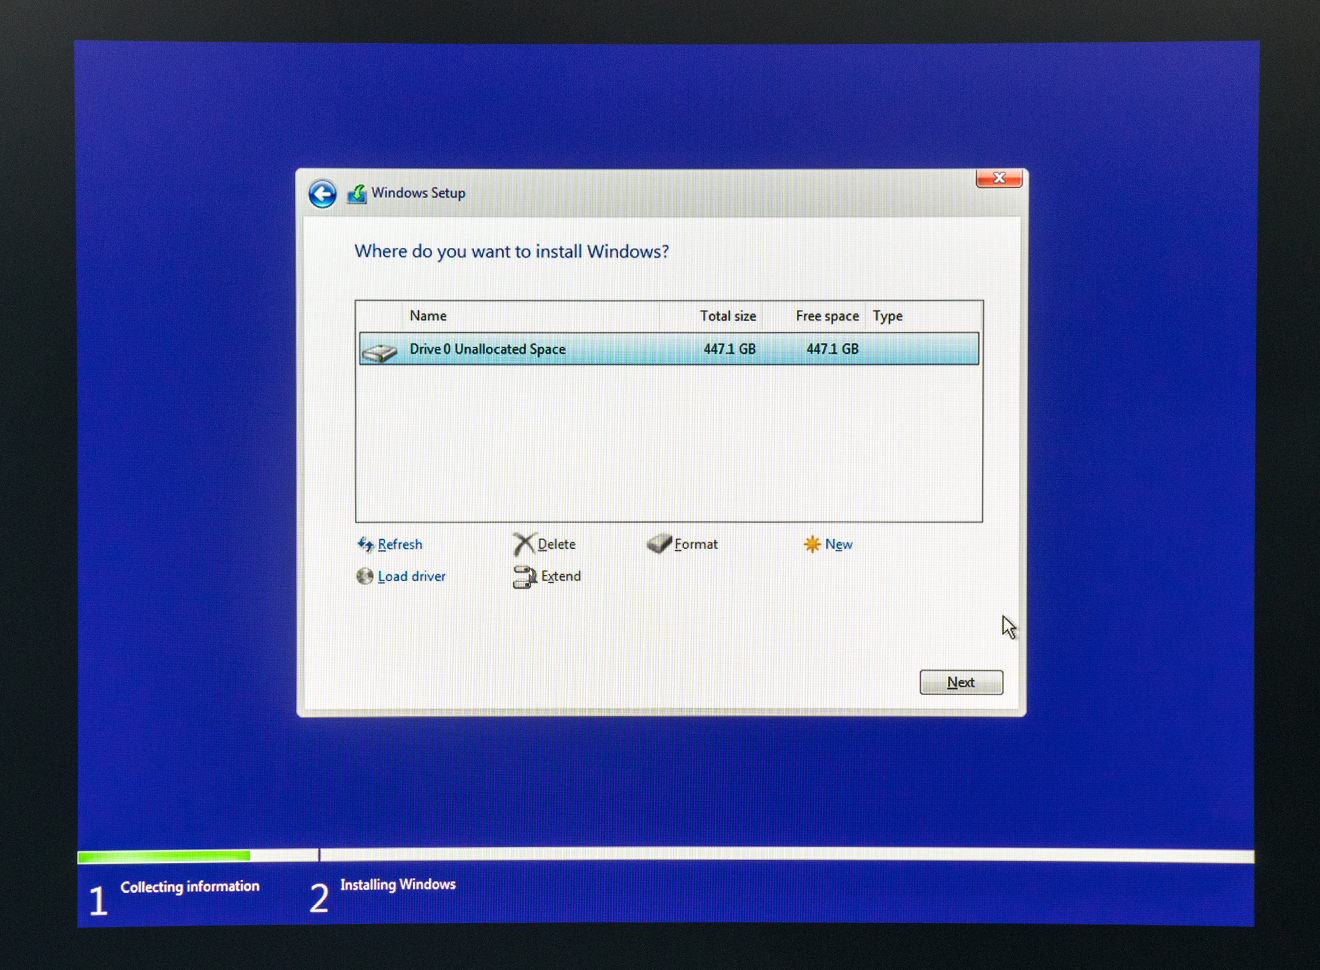
4. Choose where to install Windows 10. When setup asks, “Where do you want to install Windows?”, choose your M.2 SSD drive.
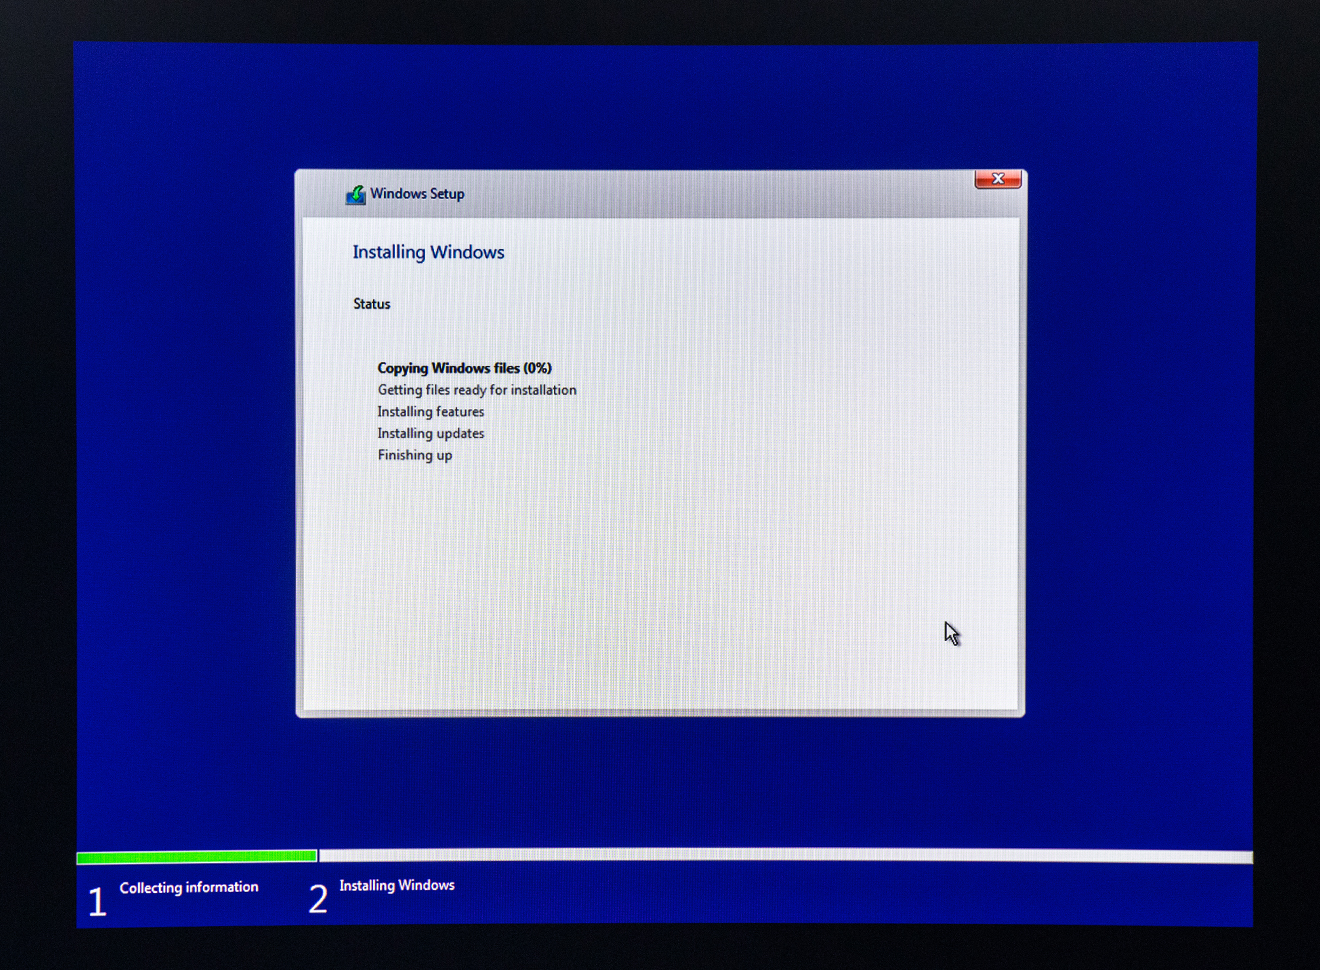
5. Wait for Windows 10 to finish installing. At this point, the process of installing Windows 10 on your M.2 SSD is pretty much complete. Go get a refreshment or snack while the necessary system files are copied onto your PC.
Enjoy Incredibly Fast Start-up Times
Congratulations on installing Windows 10 onto your new M.2 SSD! I hope you said a proper farewell to the loading screen because the entire start-up process takes as little as 15 seconds.
Best Deals on SSD’s at Slickdeals Now
Here are the most popular SSD (Solid State Drive) deals on Slickdeals now.
-
ASRock B650M-HDV/M.2 + Patriot P400 Lite M.2 PCIe Gen 4 x4 1TB SSD $159.98
See Deal -
Select Walmart Stores: 2TB WD BLACK SN850p PS5 Console SSD w/ Heatsink $208 + Free Shipping
See Deal -
$11*:MEANHIGH M.2 NVME SSD Enclosure, Tool-Free USB 3.2 Gen 2 10Gbps Adapter, for 2242/2260/2280 (Up to 8TB)
See Deal -
ORICO M.2 NVMe SSD Enclosure $10.64 + Free Shipping w/ Prime or orders $35+
See Deal

